Chocolate Chip Cookies

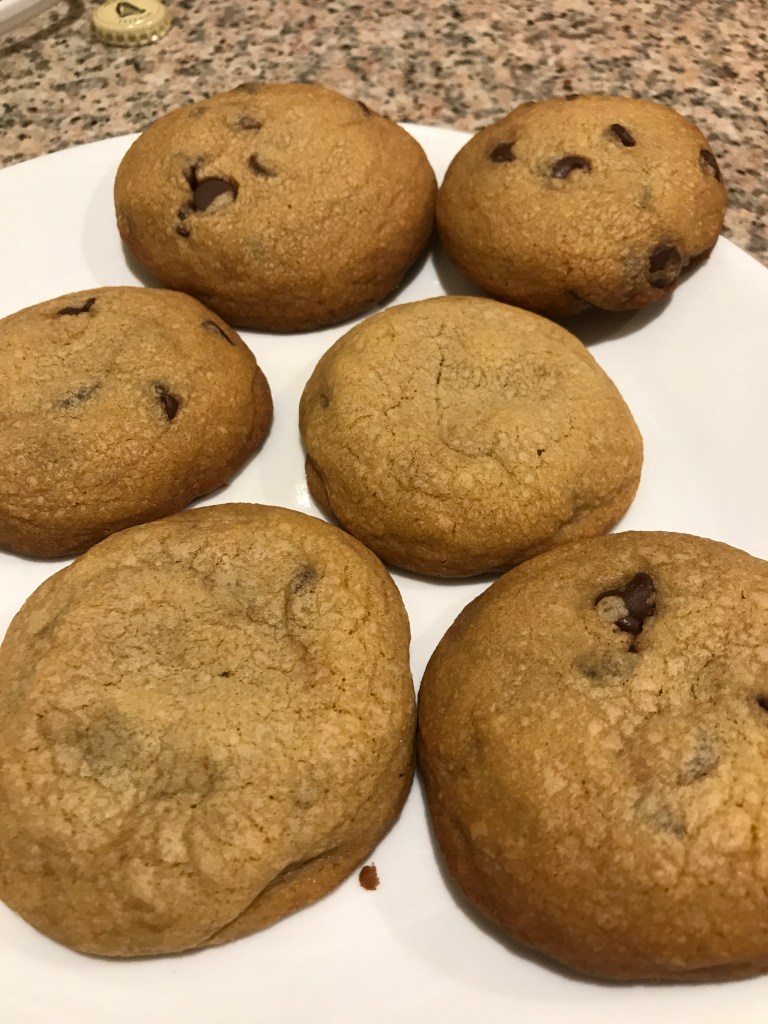
Everyone has their perfect cookie. Mine is chewy in the middle, where the texture and taste of the dough outshines the chocolate. It’s not too sweet and not overloaded with chips. This batch came out good, but it wasn’t my perfect cookie. It’s very close! It‘s on the softer side and had a lot of chips. I used America’s Test Kitchen for chocolate chip cookies that can be found here: https://www.americastestkitchen.com/recipes/4737-perfect-chocolate-chip-cookies

Here are some modifications and future ideas:

  • I over-creamed the butter and sugar, which resulted in the puffy look. I also suspect that’s why the chocolate chips mostly fell to the bottom, since the dough was too light. I over-creamed the butter in the hopes that the sugar would dissolve, but the sugar never did. Next time, I would try dissolving the sugar into the melted butter pan. According to ATK, dissolved sugar would result in a chewier cookie.
  • If you do go the over-creamed route, I would flatten the cookie ball significantly.
  • I would reduce the chocolate chips by 1/4 cup. I would also choose chips with a higher cacao percentage since dark chocolate is a personal favorite!
Salt and Pepper Roast Chicken

I was always blown away by my mom’s roast chicken. It’s flavorfully packed with rosemary and ginger and garlic. The coloring was this crisp brown, while the coloring of my roasts would literally pale in comparison. For years, it was my gold standard.

Sorry mom!

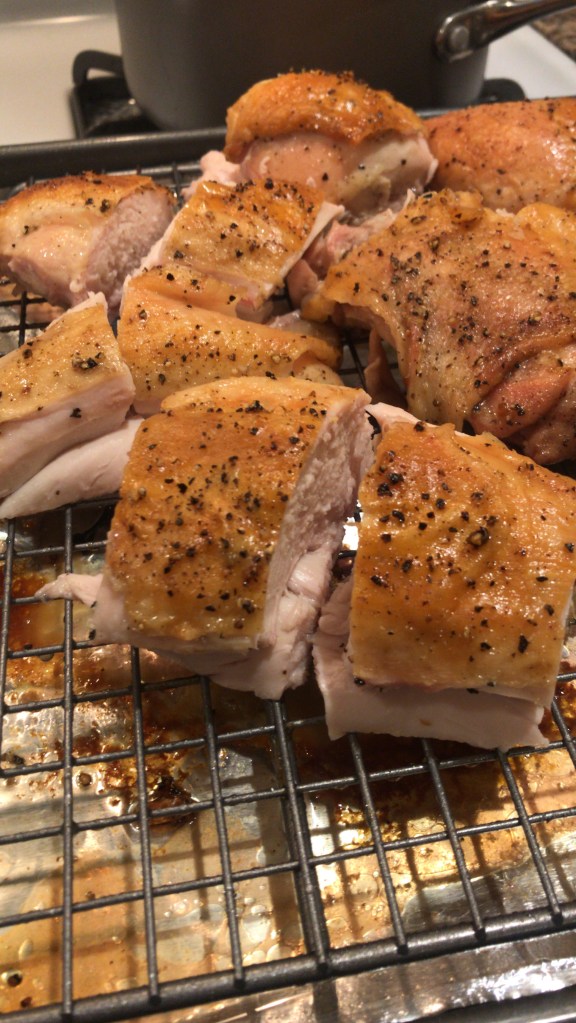
But I’ve now surpassed her!! I used the recipe from Kenji Lopez’s The Test Kitchen book. I can’t believe how tender the meat is while the skin remains a crispy brown. I also spatchcocked the chicken, which made the bird cook way faster in 35 minutes than the usual 1.5 hours of my mom’s recipe.

I paired this chicken with a white wine au jus, also in the same book. It was such an amazingly satisfying and simple meal. I would definitely make this a weekly meal.

I would start experimenting with more spices next time. The biggest takeaways are the ones below:

  • Rub vegetable oil all over the skin and underneath the skin. This allows for the browning to occur.
  • Carefully separate the skin and the meat by sliding your fingers under the skin. This allows for the fat to crisp up instead of steaming.
  • Spatchcock your chicken! This is essential, since this allows for even cooking of the breasts and the thighs at the same time which is almost impossible in a traditional bird set-up. Also, your cooking time is dramatically reduced and you don’t have to flip a spatchcocked chicken.

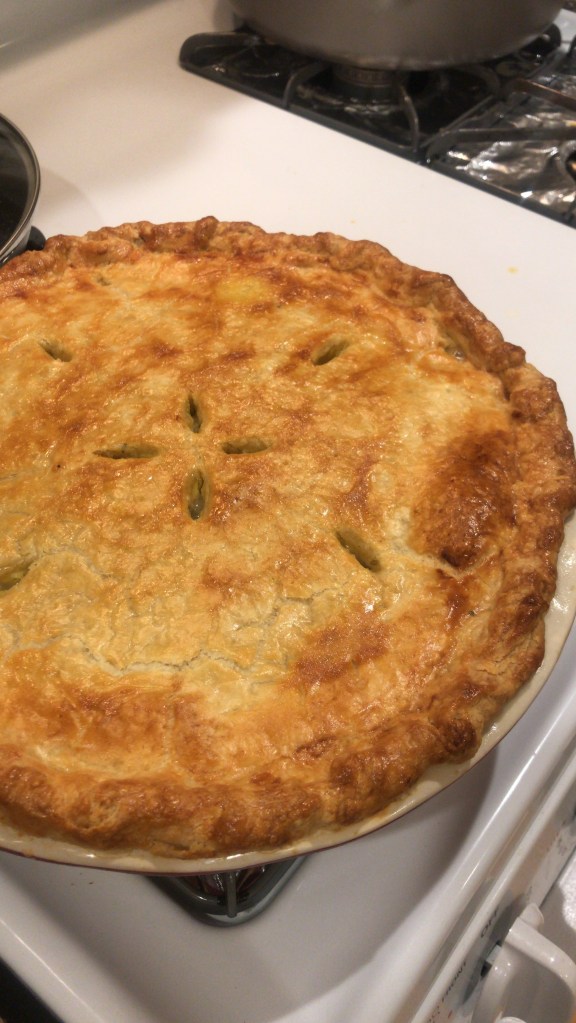
Chicken Pot Pie

Really, this is a dedication post to the crust

This was also extremely good! Chicken pot pie filling is not difficult. It is so easy to do. The most difficult part is the CRUST. Prior to this, it has always come out as too tough and not flakey. Oddly enough, I’ve always used a food processor to blend the butter and flour together and always received this result. In this new recipe I’ve used, the butter is incorporated into the flour manually with a rolling pin, and the crust came out perfect. This was made with leftovers of whole roasted chicken. I used this recipe: https://www.twopeasandtheirpod.com/chicken-pot-pie/

I did make a few adjustments:

  • Instead of buttermilk, I used 1/4 heavy cream and 1/4 milk
  • I used 1 cup of celery instead of 1/2 cup of celery
  • I used rosemary instead of parsley. I’d love to add sage and thyme in next time.

Creme Brulee

Throwing raspberries on anything increases the class

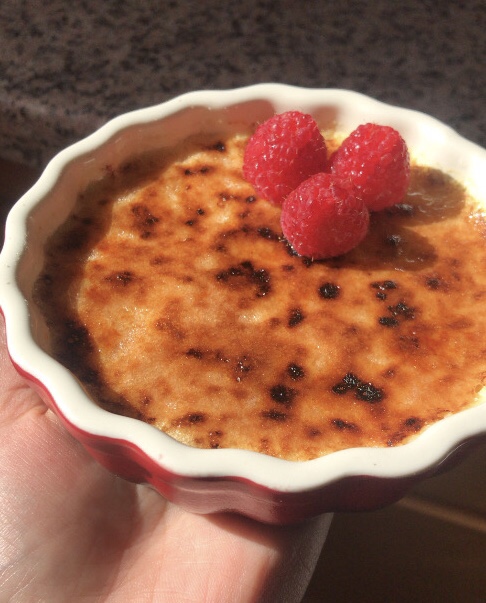
I made the best creme brulee this week. It wasn’t too sweet, it didn’t taste eggy, and the texture was all around smooth and consistent. Not to mention, I got to put it in my new tart dishes from Goodwill too! I’m so happy right now. I love the New York Times recipe, but I hate the NYT paywall. Here’s the recipe I used:

  • 5 egg yolks
  • 2 cups heavy cream
  • 1/2 cup sugar
  • 1 vanilla bean split lengthwise
  • 1 tsp of vanilla extract
  • 1/8 tsp salt

I honestly do not know what I would do differently. This is perfect and I wouldn’t change a thing. It looks beautiful decorated with raspberries and mint.

Paris-Brest

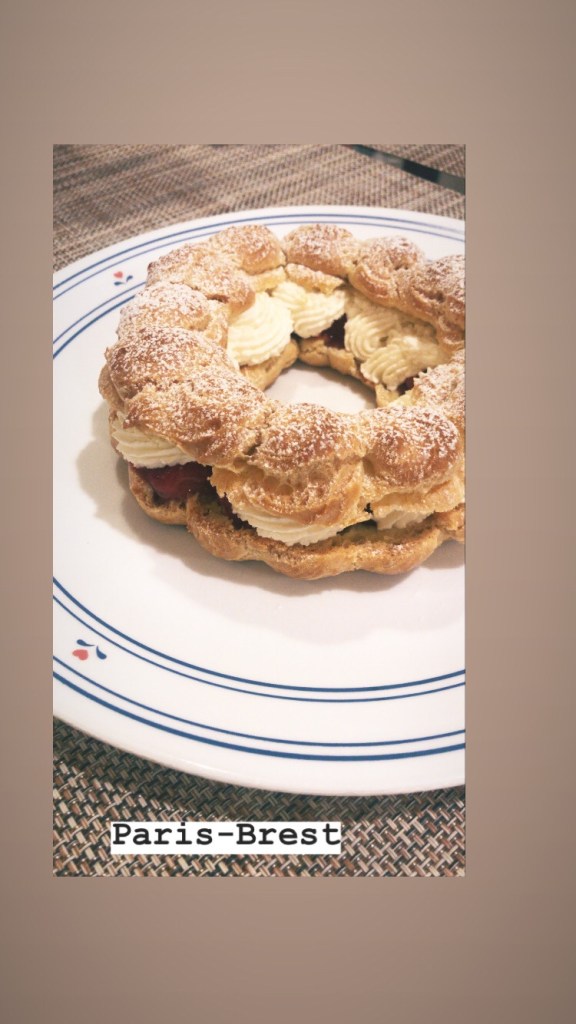
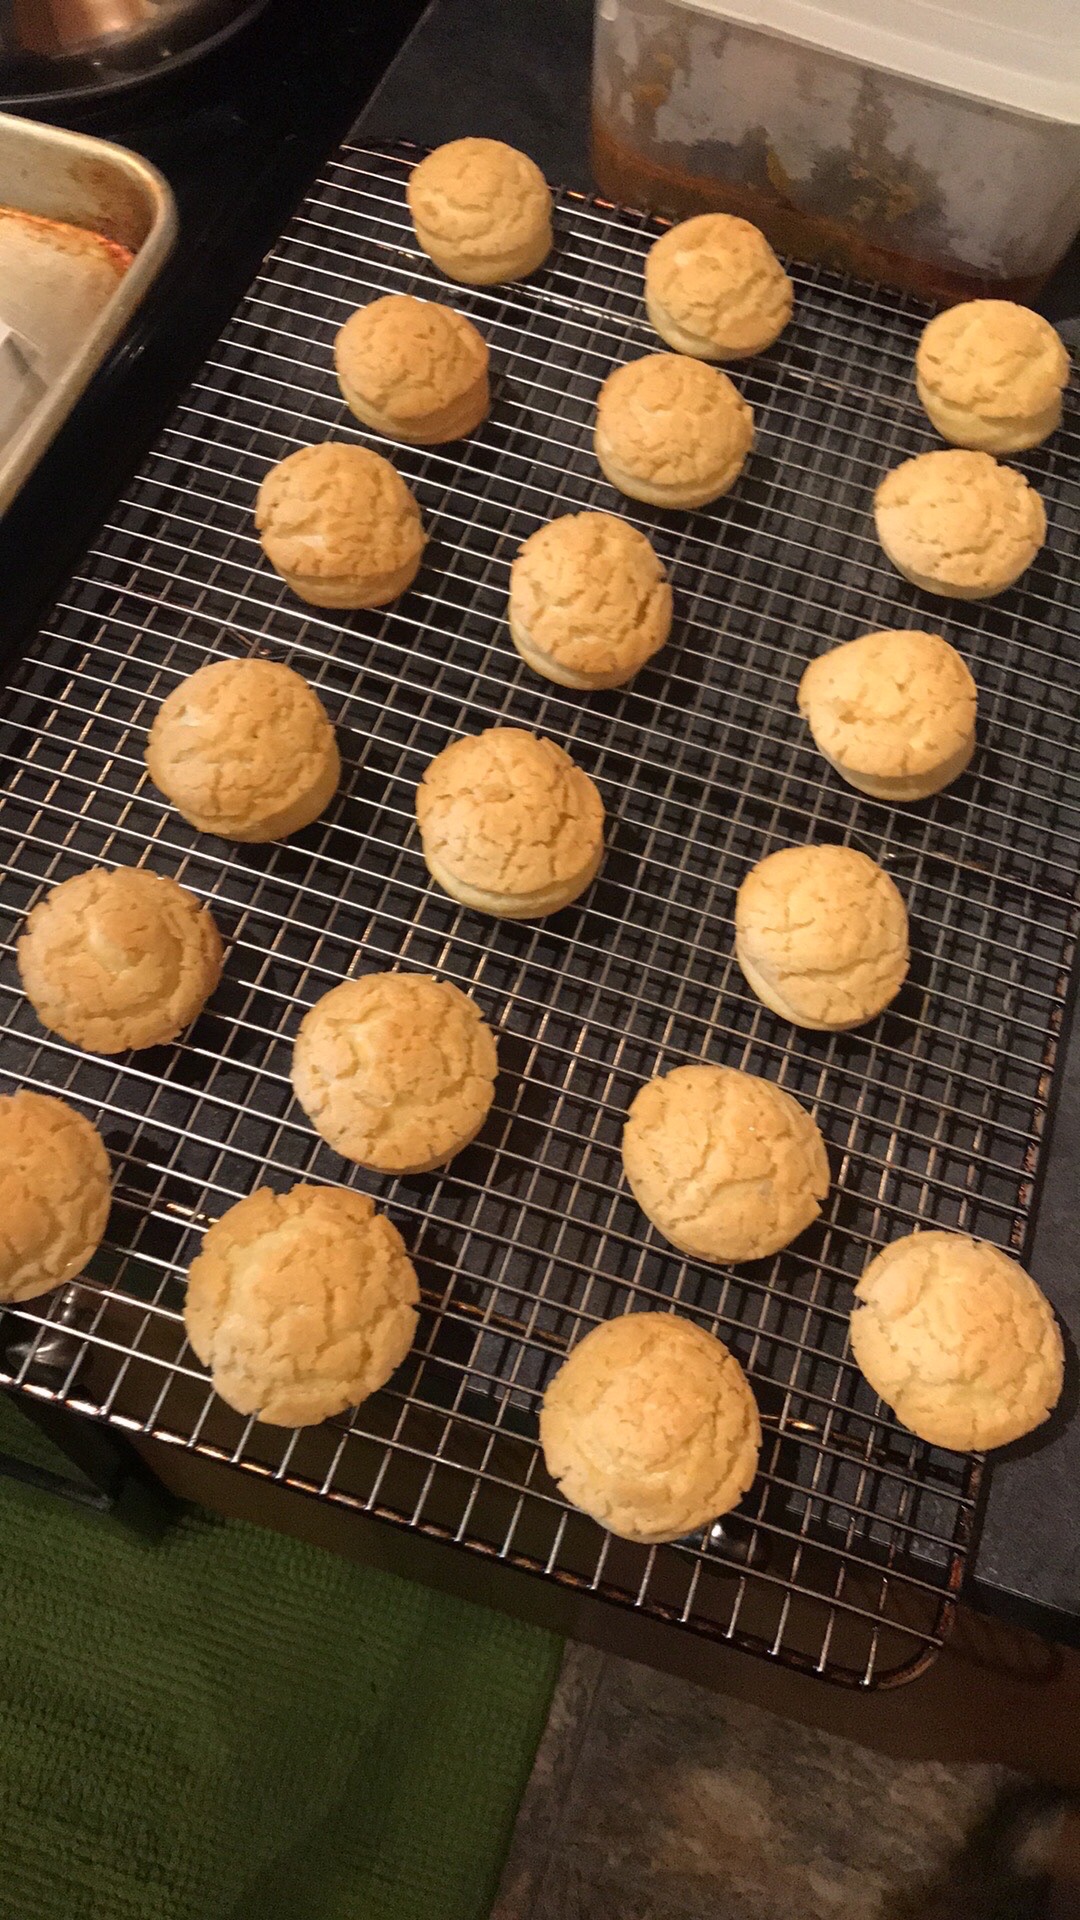
My first attempt at making something that’s actually intermediate. At this point, I can make chouxs with my hands tied behind my back, but this Paris-Brest was a whole other level of difficulty. Paris-Brest can best be described as a ring of chouxs meant to represent the bicycle tires that France loves so much (think of all the bicycle races there). And the French love bicycle tires so much, they decided to make it into a wretchedly difficult pastry.

I first followed the King Arthur’s recipe for making the chouxs. However, I found that the choux dough was runny in comparison to the flavor bender recipe that I have used in previous creampuff posts. This created a ring that was super spread out and the top layer melted towards the bottom layer.

I actually trashed my first ring made with the KA recipe and redid my batch following the flavor bender’s style. The new batch was perfect. This is slightly disappointing of KA since they have always been my idols, but this is a lesson that not all idols can be followed so blindly.

Jokes aside, I do have a lot that I want to improve in my future trial of this pastry.

⁃ make each choux way way smaller

– Make chouxs very tall

⁃ Use the other recipe for the choux buns, they are less viscous

⁃ Do not open the oven until they are golden brown!!

⁃ Let them cool in the oven after they are done so as to not deflate them

⁃ Bake them for longer at a lower temperature at 350 degrees in oven, expect at least 30 minutes to up to 45 mins (this is a guess)

⁃ For the filling, sift the powdered sugar into the cream

Croissant Breakfast Buns

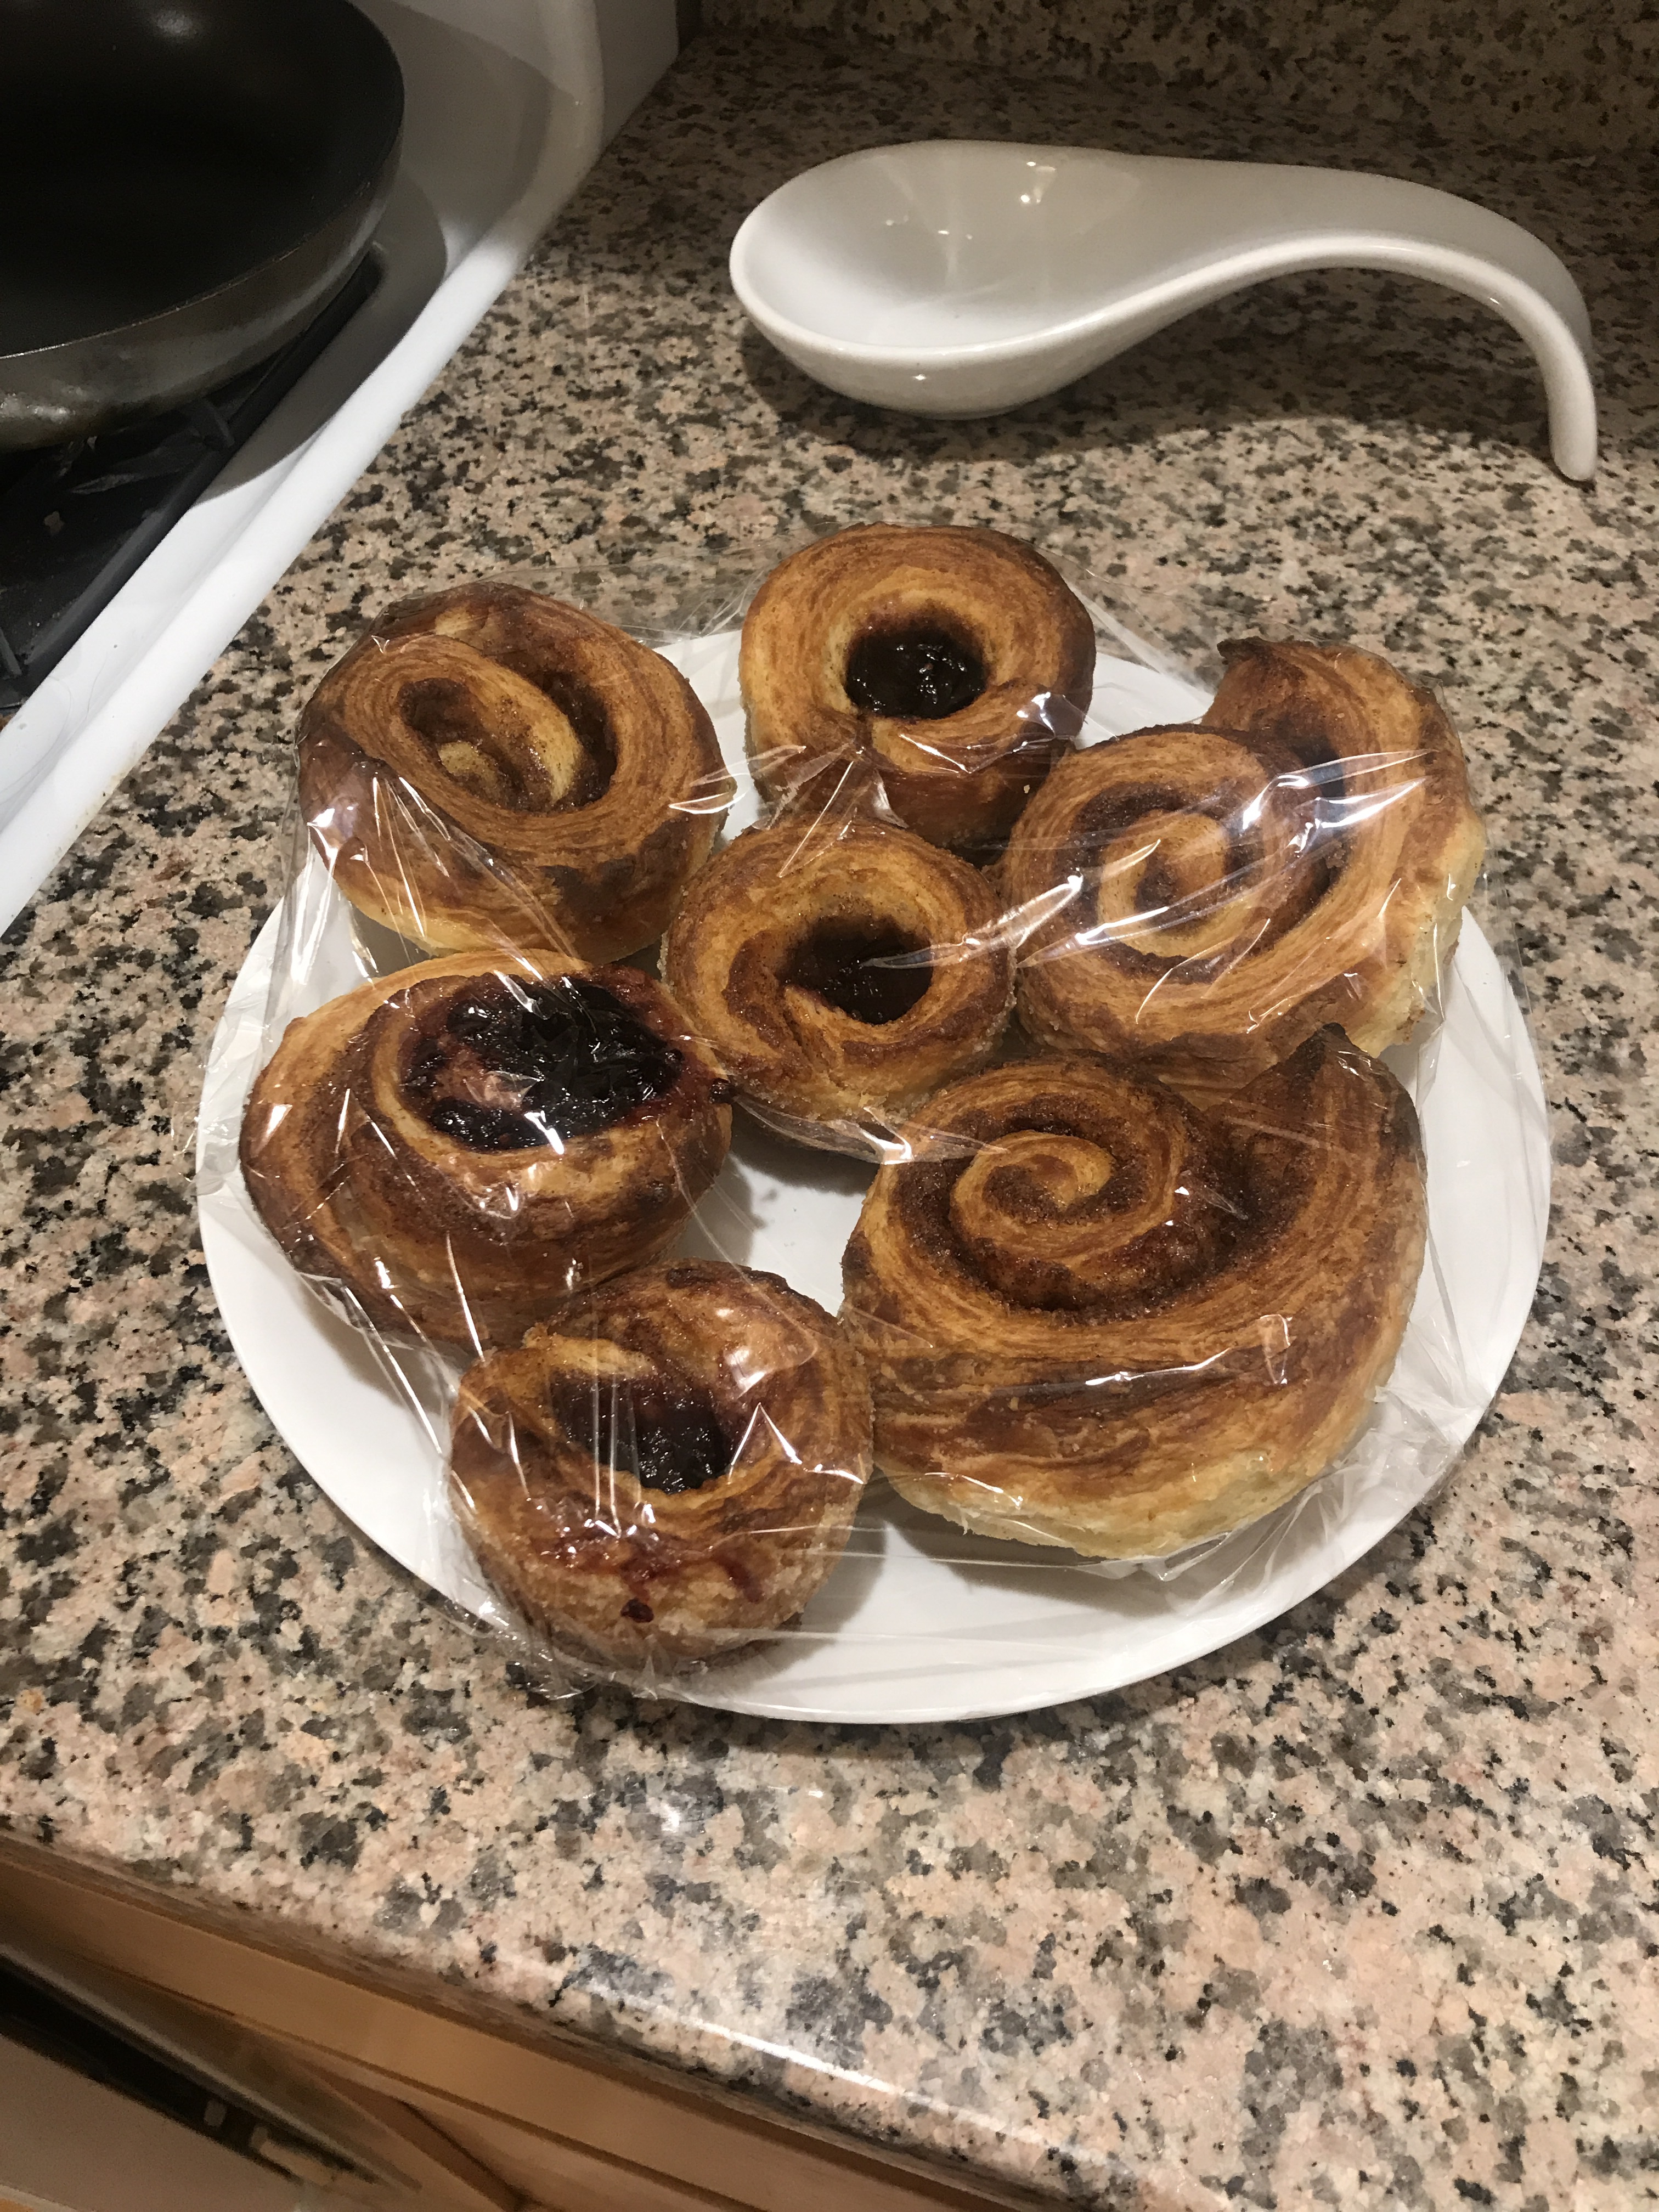
The fact that I couldn’t even take the plastic wrap off my finished breakfast buns says a lot about my laziness for photos. But these tasted pretty good, and they were frankly good for a first try at a croissant/croissant breakfast bun. I got this from King Arthur’s website. Here are my tips:

  • Depending on how deep my muffin dish is, I may want to adjust from the 1-1/2 inch rolls that KA suggests. My muffin tin was shallow, so 1 inch was perfect for this.
  • I used marionberry as the filling/topping for some of these. However, I realized that I may have indented the center of the rolls too much before baking, which led to the jam running through the bottom of the rolls. Do not push an indent too hard on the center of the rolls.
  • Definitely let the rolls to expand in the muffin tin for 1 hour prior to baking. Or else you will get unpuffy unbeautiful buns.
  • I would add more cane sugar to the tops when the buns are fresh from the oven.
  • Also my oven in my new place is super hot! I need to lower the temperature, maybe down by 25 degrees next time.
  • I noticed that the buns with fruit filling would have a hole in the middle. I think this is tied to my oven being so hot that the jelly literally burns a hole through the bun.

Overall, this was a good first try at croissants! I have an extra batch of croissant dough left and hope to use it to make something savory soon.

Beef Jerky

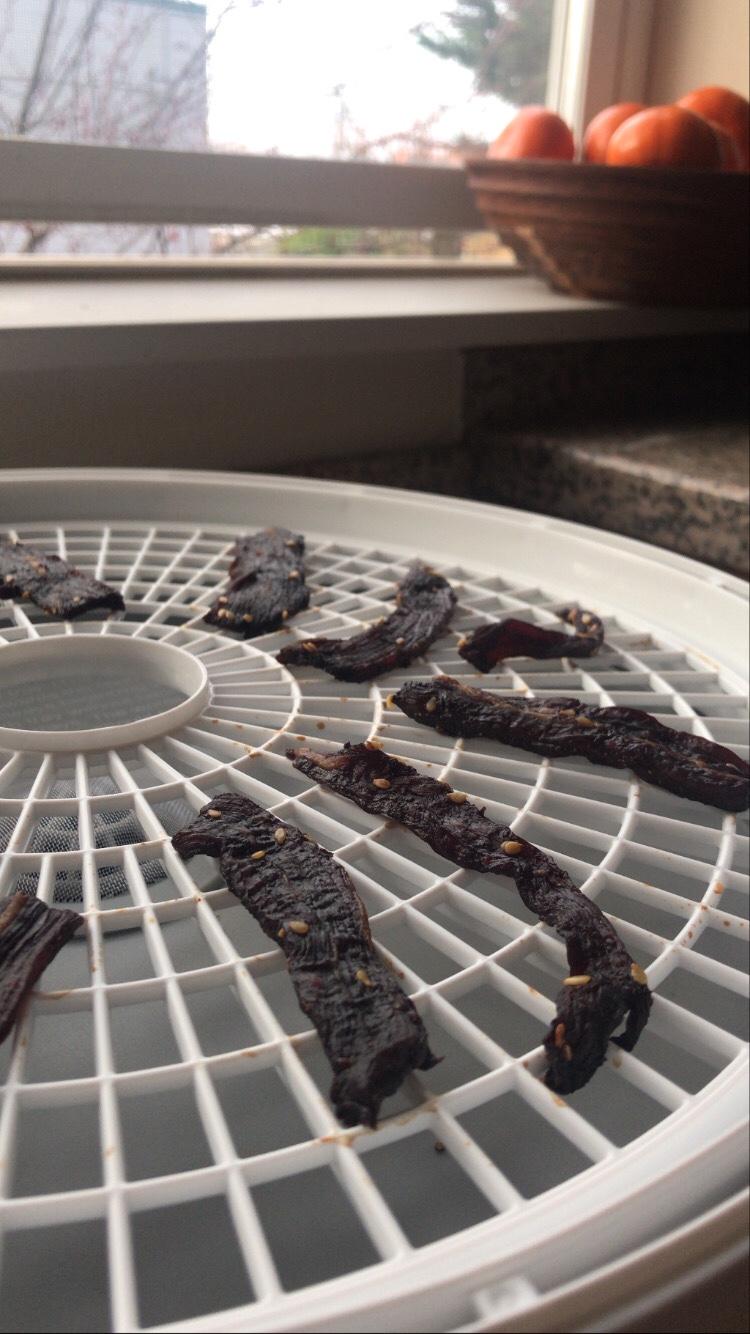
I bought a food dehydrator and tried my hand at making beef jerky. There were some improvements to be made, but overall I’m so happy with the result for my very first try! I used the following recipe. I used flank steak and sliced with the grain, which led to a chewier jerky. Here are my tips for next time:
  • I didn’t have onion powder at the time, but it still came out great. Use onion powder next time.
  • I added 2 tbsp of teriyaki/ginger sauce to my marinade to get a more Asian flavor.
  • I also added 1 tbsp of brown sugar to add a hint of sweetness.
  • I marinated the beef for 8 hours, which was perfect.
  • I dehydrated the beef for 6 hours, which made the jerky come out tougher than I liked! Try dehydrating for 4 hours next time.
  • I sliced with the grain, but I would like to get a tender jerky next time by slicing against the grain.

This first batch was completely gone by the end of our Sunday hike.

Update:

I have finally tweaked this recipe and really liked the outcome! I opted for a tender beef jerky and sliced against the grain. I also increased the thickness of each slice to 1/4 inch. I added the onion powder and only dehydrated this for 3 hours. What I got was probably my favorite beef jerky that I’ve ever had! Next time, I’d like to try different flavors like chili lime or try different meats.

Miso Ginger Soup with Soba

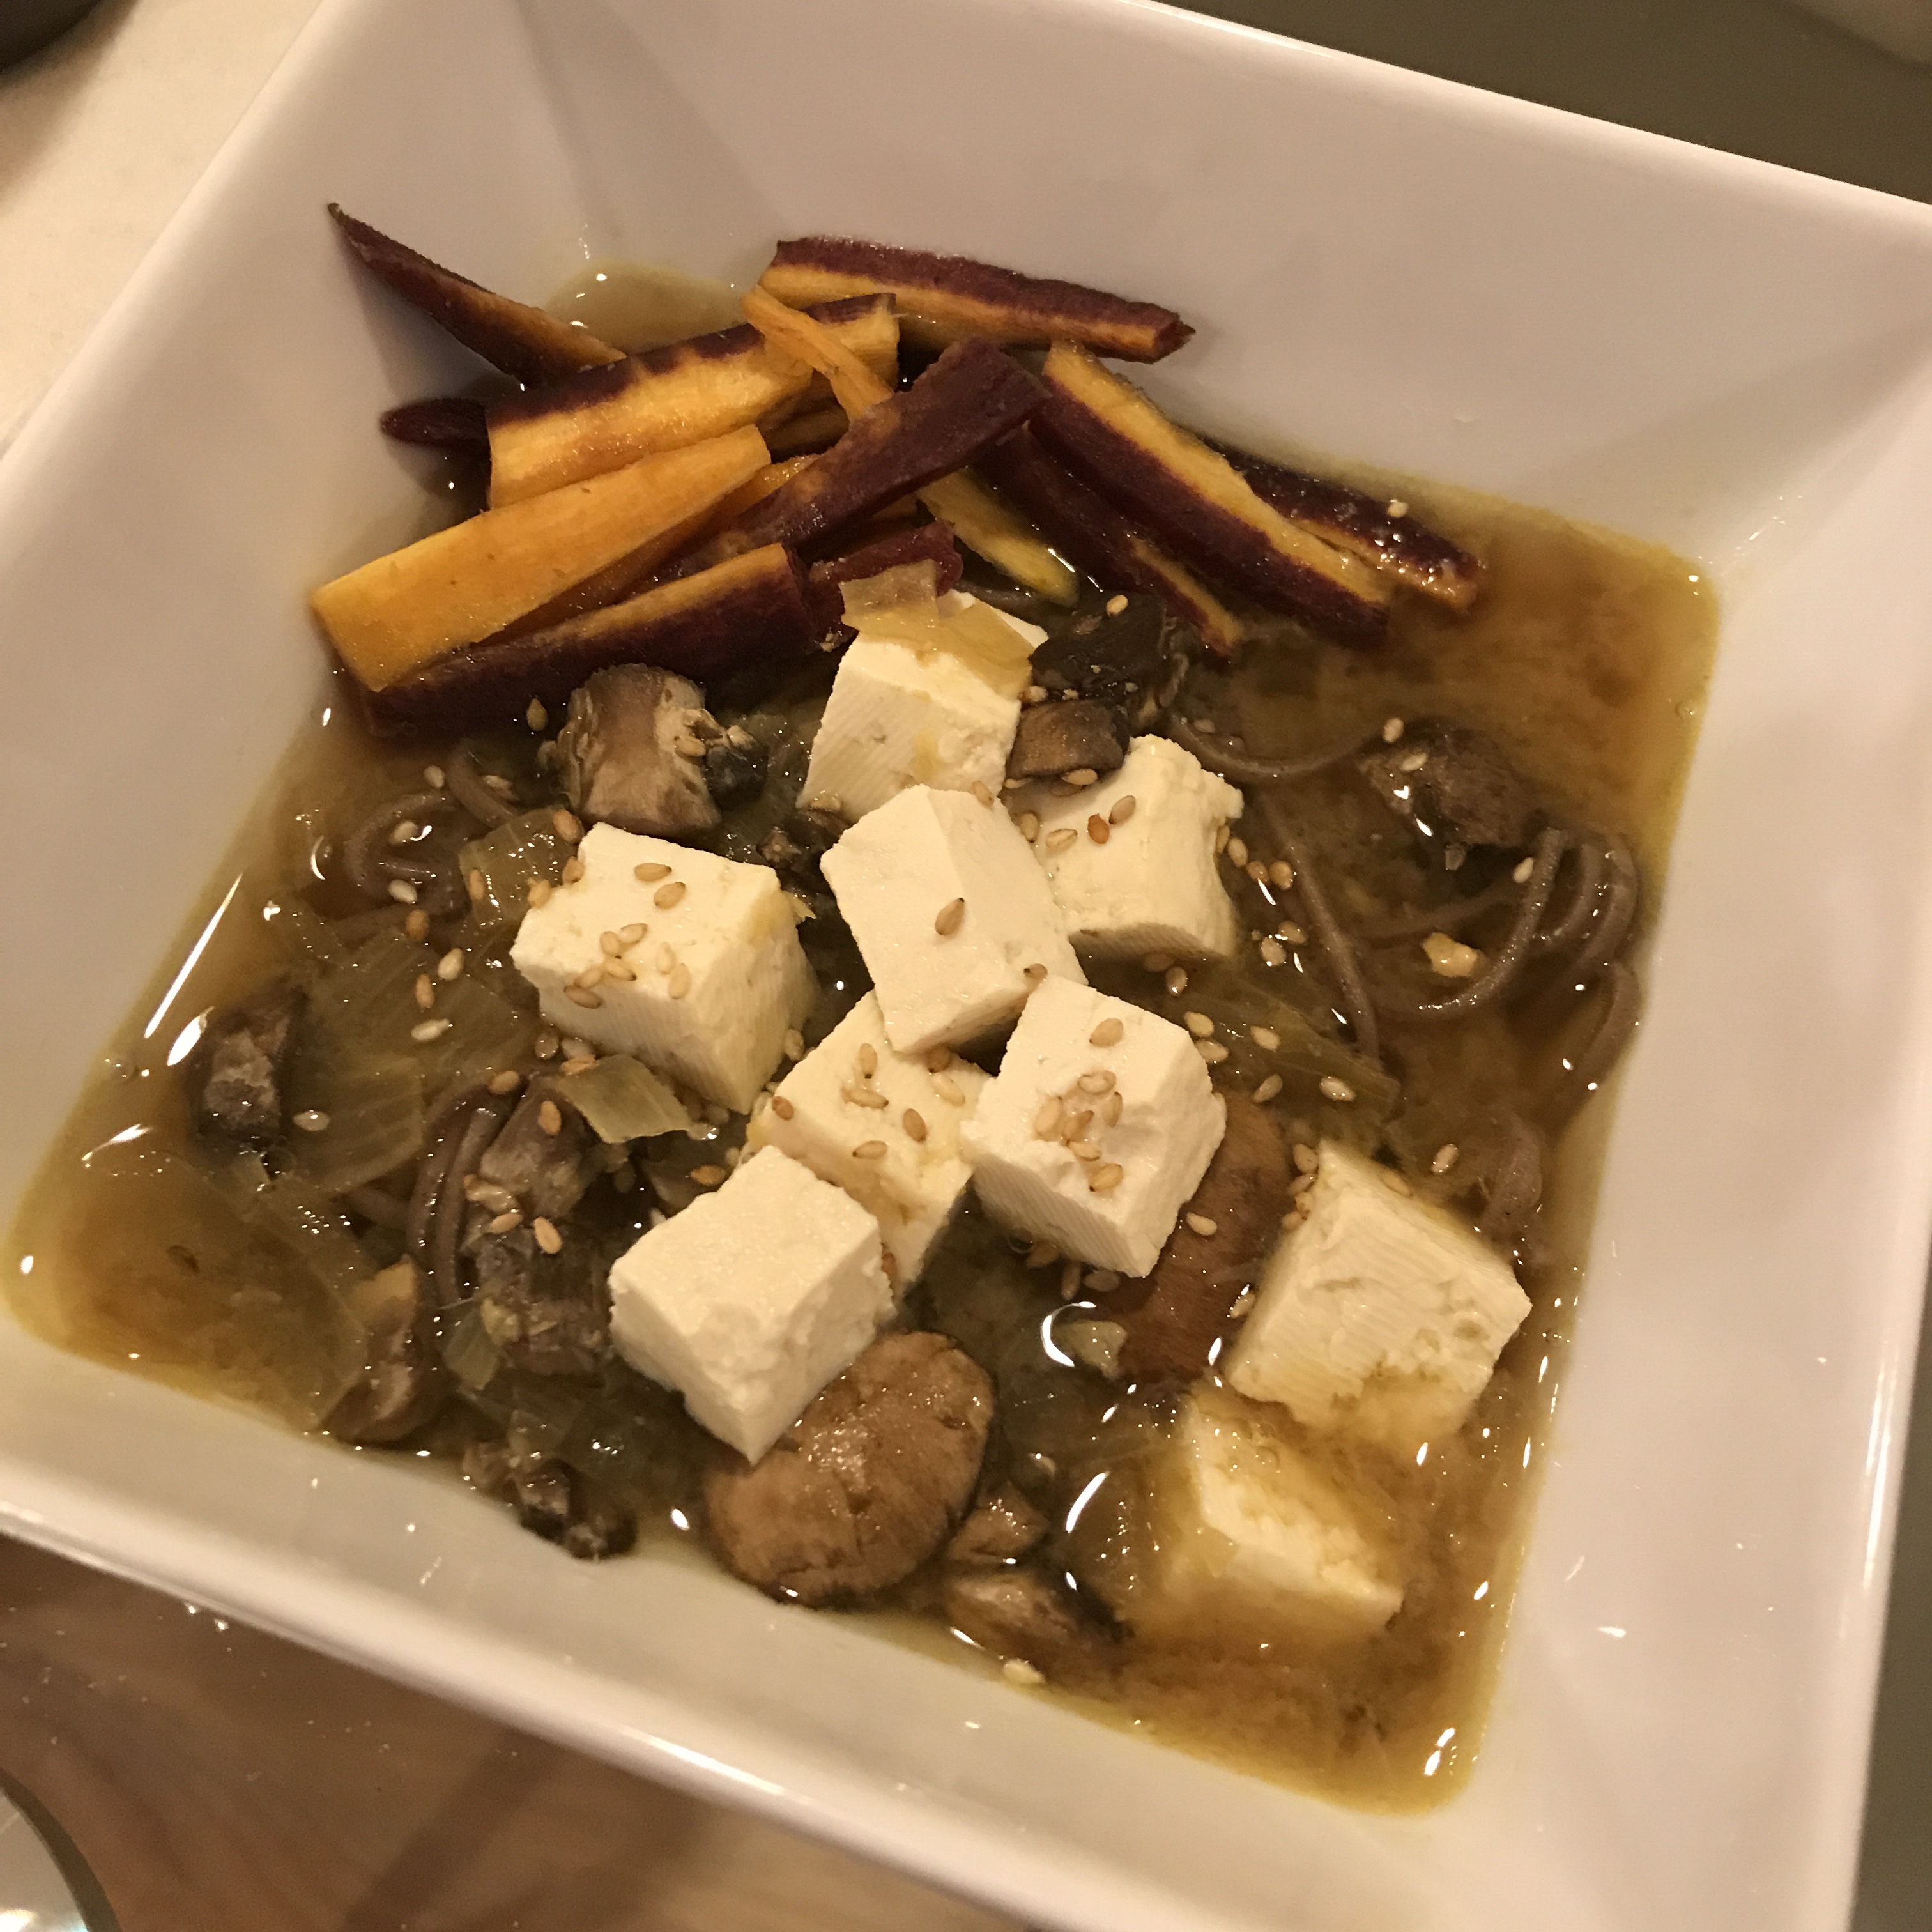
It’s not the prettiest bowl of noodles, but this was a really good bowl of noodles. Like make this for someone to impress kind of good. I used the recipe here. The only thing I changed was that I used 3 tsp chicken bouillon paste for 4 cups of water. I opted to put the tofu and carrots as final toppings instead of mixing them in the broth, since tofu breaks easily and I’m not the biggest fan of my broth tasting like carrots.

Next time, I wouldn’t use carrots and use shiitake mushrooms instead of the crimini mushrooms here. I would put some wakame seaweed in there.

Choux aux Craquelin

For this year’s Christmas, I upped my choux game with craquelin from last year’s eclairs. Craquelin is the name of the crunchy cookie topping that envelopes the chouxs. It’s a nice alternative to Croquembouche that requires extremely high heat for the caramel twine.

Next time:

  • Use fine, medium brown sugar. This would create a more refined craquelin and a darker color.
  • I would cut the craquelin disks to 2.5 inches to cover all of the chouxs.
  • I would pipe the chouxs to 2 inches or a bit less.
  • For my parent’s oven, 23 minutes was not enough. 24 or 25 minutes would have been perfect.

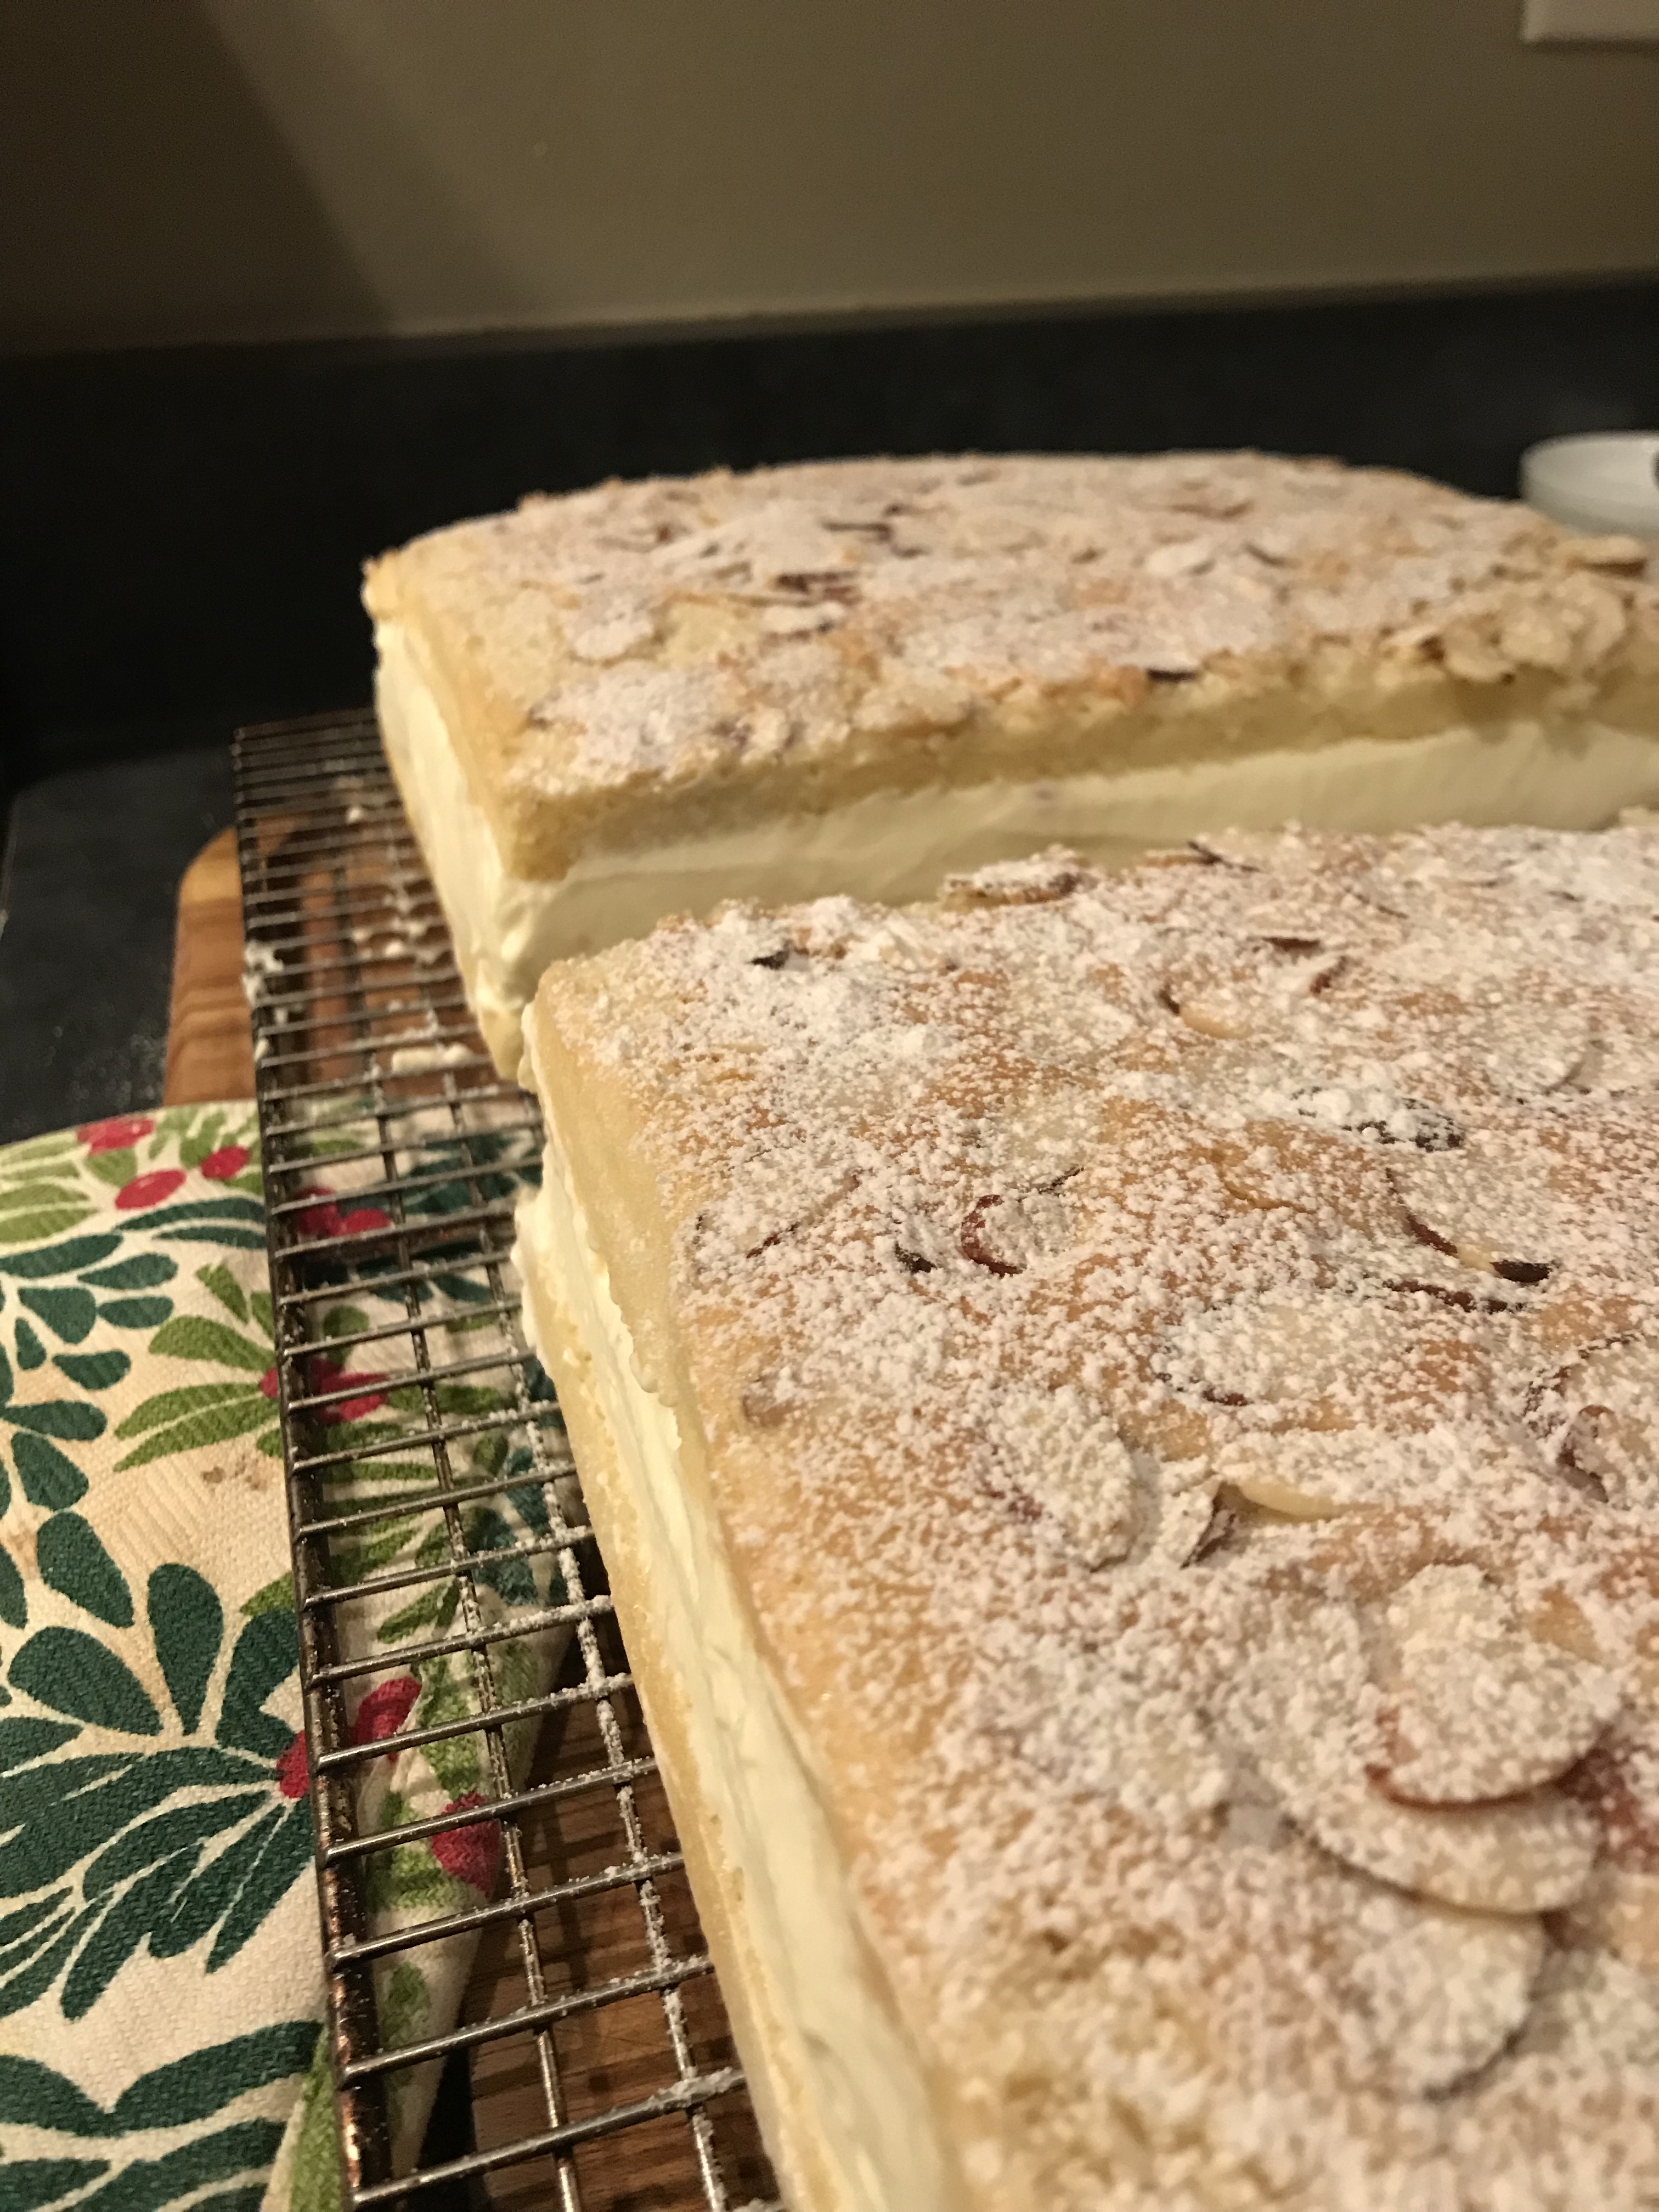
Framboisier

What a cute delicate dessert that turned into a stresscake in real life.

I followed the recipe from a patisserie book. Next time I would make sure the creme diplomate is not too milky (tasting the cream after every addition of creme chantilly) and throwing in a boatload of raspberries. I might add in a drop of almond extract to the cake to make the almond flavor more noticeable, but the almond cake is already a light and beautiful cake. I’d also throw a LOT more powder sugar on the top – it just looks prettier that way!